Really, truly one of my favorite things.
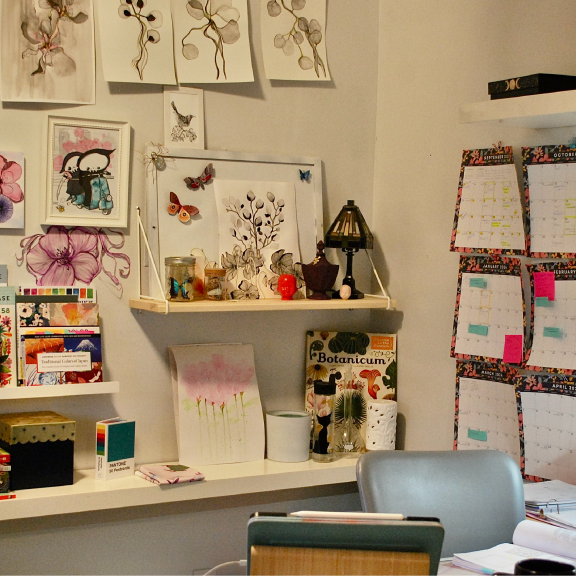
I thought I’d share a peek into my personal space for National Personal Space Day. This is where I keep a few of my favorite things. You see the corner where I spend most of my life and my two assistants, who do nothing but fight over who gets to nap in this really sad, ratty chair. I feel very fortunate to have this space.
I have several workspaces set up in my studio, but in the last couple of years, most of my time has been spent at my computer “station”. Next to that, I have a place by the window where I like to do my drawing and painting, which has been the second place I spend most of my time, though not very much lately. My paper-cutting and assemblage station is out of commission, but I hope to get back to that soon.
I tend to rearrange this space when I am trying to avoid work, or when I start a new project. And by project, I mean another class, because let’s face it – that is all I’ve been doing; class after class. At some point, I need to put all this learning into action. Perhaps 2024 will be the year I make it happen. But, first I’ll have to completely rearrange my space, which could take a while.

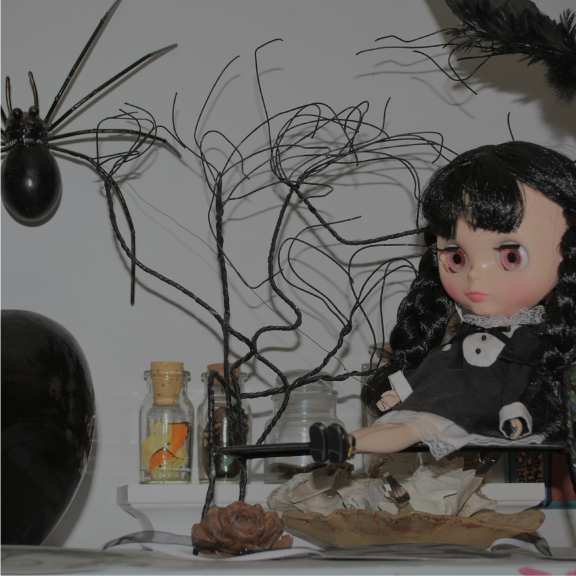
I’ve been moving along slowly in From Paint to Pattern, while I haven’t been so motivated to work on any patterns, I did find some inspiration from my little friend here. It was nice of her to bring a little present too, so thoughtful! I thought I’d put my new Photoshop skills to work and bring in some vector art from Illustrator. While this isn’t great, I’m pretty happy with what I’ve learned so far. I’m still struggling a bit and not sure why my vector art looks so pixelated. It’s something I’ve been working on figuring out. Thanks so much to Sara Watts for her guidance and also the fabulous Jane and Whitney for keeping things running smoothly behind the scenes!


Here’s the inspiration for the above photo. It was actually a pretty easy process, but something I wouldn’t have been able to do a few weeks ago on my own.
Though I’m taking a Photoshop course right now, I still feel most comfortable in Adobe Illustrator, where I drew this Wolfsbane. It’s the start of a bigger project I’ve had in my mind for a while now but still isn’t anywhere near completion.

Wolfsbane is also known as monkshood, but I couldn’t help thinking about gnomes the whole time I was drawing it.
Reference photo by Hans on Pixabay.