Some of you may have started following me several years ago when I focused on paper cutting and assemblages. I miss those days. It was so satisfying to enter into my zen flow and create something with my own two hands. Bonus if I then sold it! It’s been a long time since I’ve put my blades to paper and I really miss it.
When I’d work on those pieces, it would always start with the most simple idea, but a story would always unfold as I worked and that is when the real fun started.
Since I’ve been working digitally, I’ve been feeling a little less enthusiastic about creating much of anything. It’s been a little over 2 years and with the exception of the Hounds collection I just finished, there hasn’t been a moment when I felt a story emerge or even felt like I was having fun. It’s a bit of a bummer. But, I keep plugging along. I think part of the problem is I spend so much time learning new things, I forget to make time to revisit the old familiar things. At the end of the day, I’m tired of sitting, tired of looking at a screen, and though I feel excited about everything I am learning and all the possibilities, I feel rather blah about the creation process.
I want to get back to the storytelling. I want to feel that sense of wonder, I want to feel excited about the journey I’m being taken on.
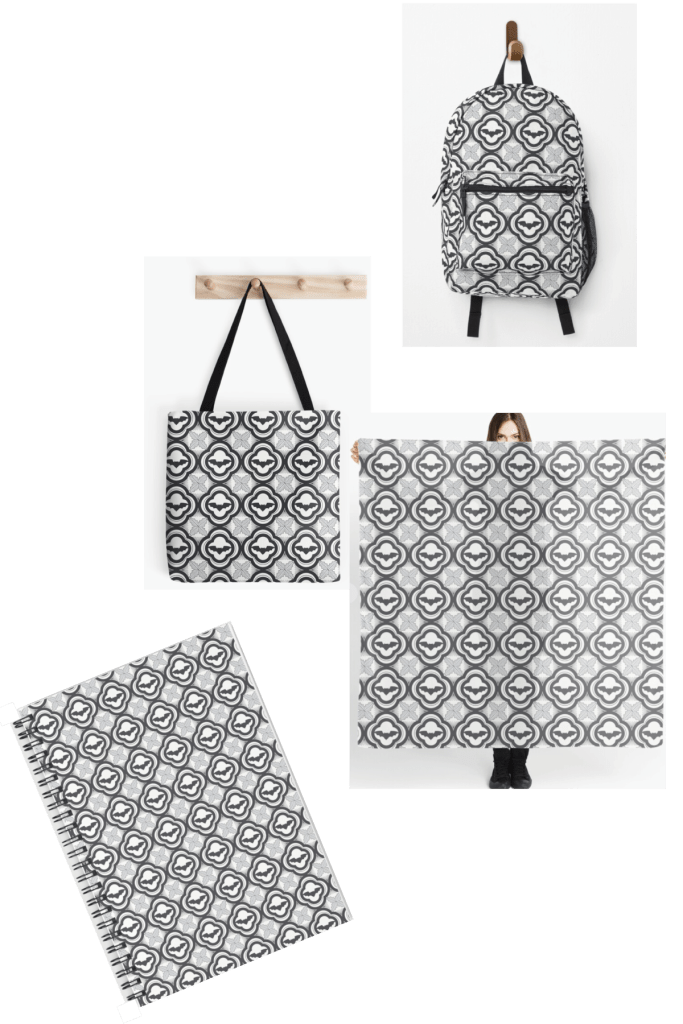
My intention in learning digital art was to translate the assemblages into art prints. But somehow, I got off track. I felt in my heart that an art print just wouldn’t have the same impact as the actual 3-dimensional piece, and I gave up on that idea, which left me feeling just a little lost. But as I revisited a few of these pieces this past week, I realized there are stories in each and every one of them, so why not explore those again and translate those ideas into prints and patterns that can further tell the story?
How many stories would a haunted house have to tell?

The early stages of my haunted house – It evolved quite a bit from this photo and there was a scary, sometimes sad story around every corner.
I’m feeling a little more excited about this journey.